- To apply painter’s tape correctly, make sure the surface is clean and dry, then apply the tape smoothly in one continuous motion. To remove the tape, start by peeling it back slowly from one corner, then use a putty knife or similar tool to remove any remaining adhesive.
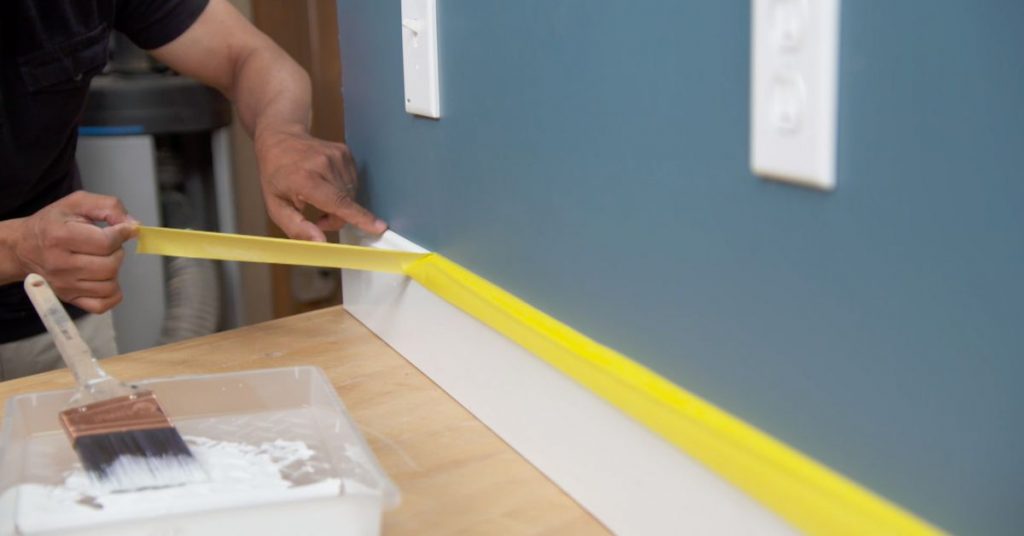
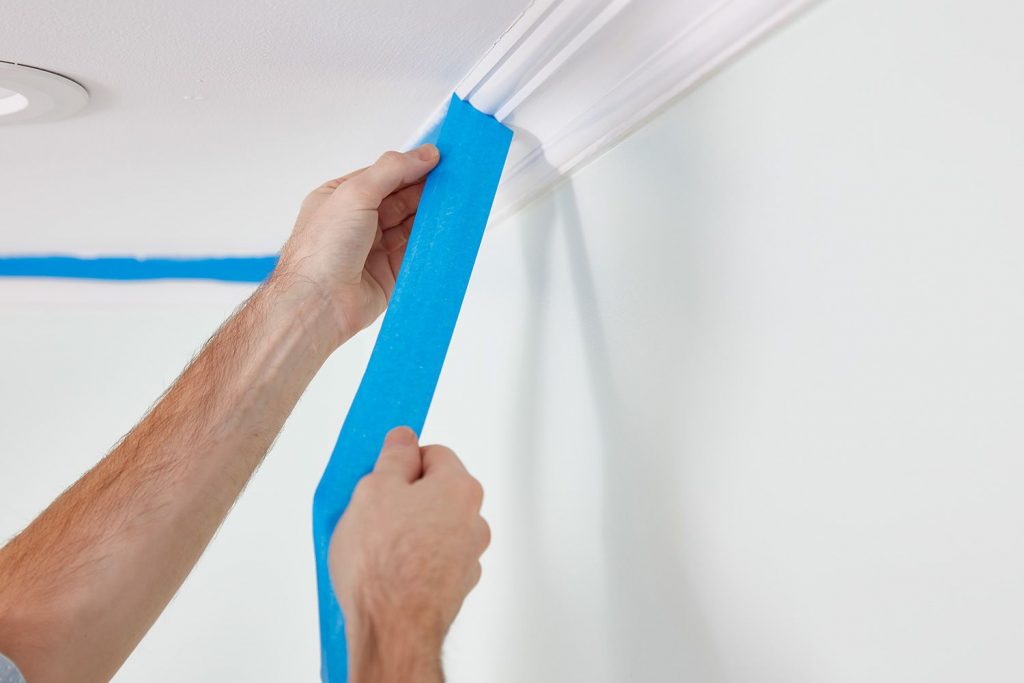
Before applying tape, clean the surface you want to protect, like molding or walls. This will help the tape stick better and provide a clean surface for paint to adhere to. Apply a strip of tape that is 18-24 inches long to the ceiling, as close to the edge of the wall as possible. Roll the tape on in long strips. The fewer seams, the less paint will bleed behind the tape. Smooth the tape down so that it seals to the ceiling. This will avoid bubbles and wrinkles.
Remove the paint about an hour after the paint is applied, when it’s dry to the touch. If the paint is pulling up with the tape, feel the paint. If it’s still gummy, wait until it’s hard and dry before you peel off the tape. If the paint does feel completely dry, use a putty knife or razor blade to score the edge of the tape and break the seal. Pull off the tape at a 45 degree angle to the wall; this helps keep the line smooth and even.
*Use a putty knife to apply pressure to the painter’s tape and create a tight seal
- Use fewer strokes to paint a straighter line.
- Use less paint overall to create a neater final product.
- Get a more polished look by using fewer strokes and less paint.