Transforming your home with a fresh coat of paint is one of the easiest and most cost-effective ways to breathe new life into your space. Whether you’re looking to refresh a dull room or experiment with bold colors, DIY wall painting can be a fun and rewarding project. Follow this step-by-step guide to achieve a professional-looking finish without the hefty price tag.
Step 1: Plan Your Design & Choose the Right Paint
Before diving in, decide on the color scheme and finish you want. Consider factors like:
- Room lighting (natural vs. artificial)
- Wall texture (matte, satin, or glossy finish)
- Mood (calming neutrals, vibrant accents, or trendy patterns)
Pro Tip: Use online color visualizers or sample swatches to test shades before committing.

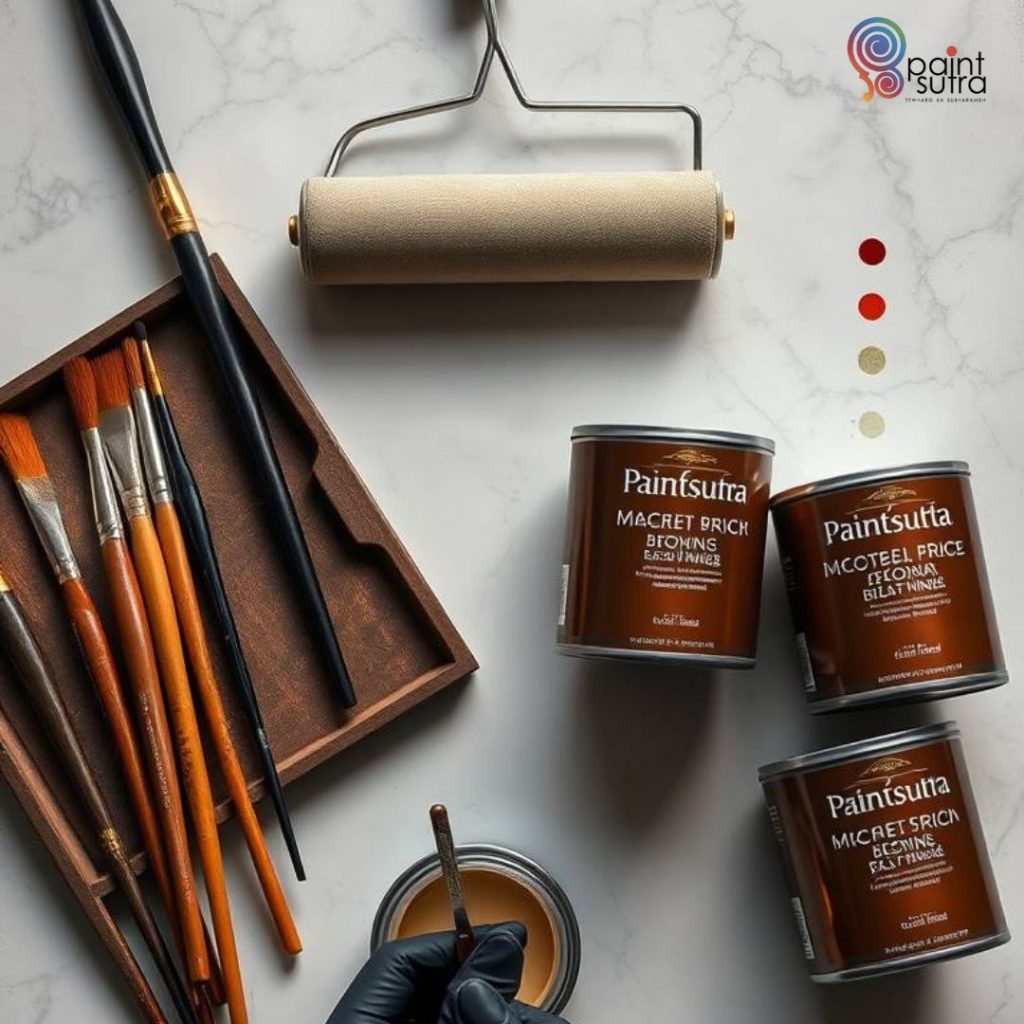
Step 2: Gather Your Supplies
Here’s what you’ll need:
- Paint (primer + topcoat)
- Paint rollers, brushes, and trays
- Painter’s tape (for clean edges)
- Drop cloths (to protect floors and furniture)
- Sandpaper & spackle (for wall repairs)
- Stir sticks & a paint can opener
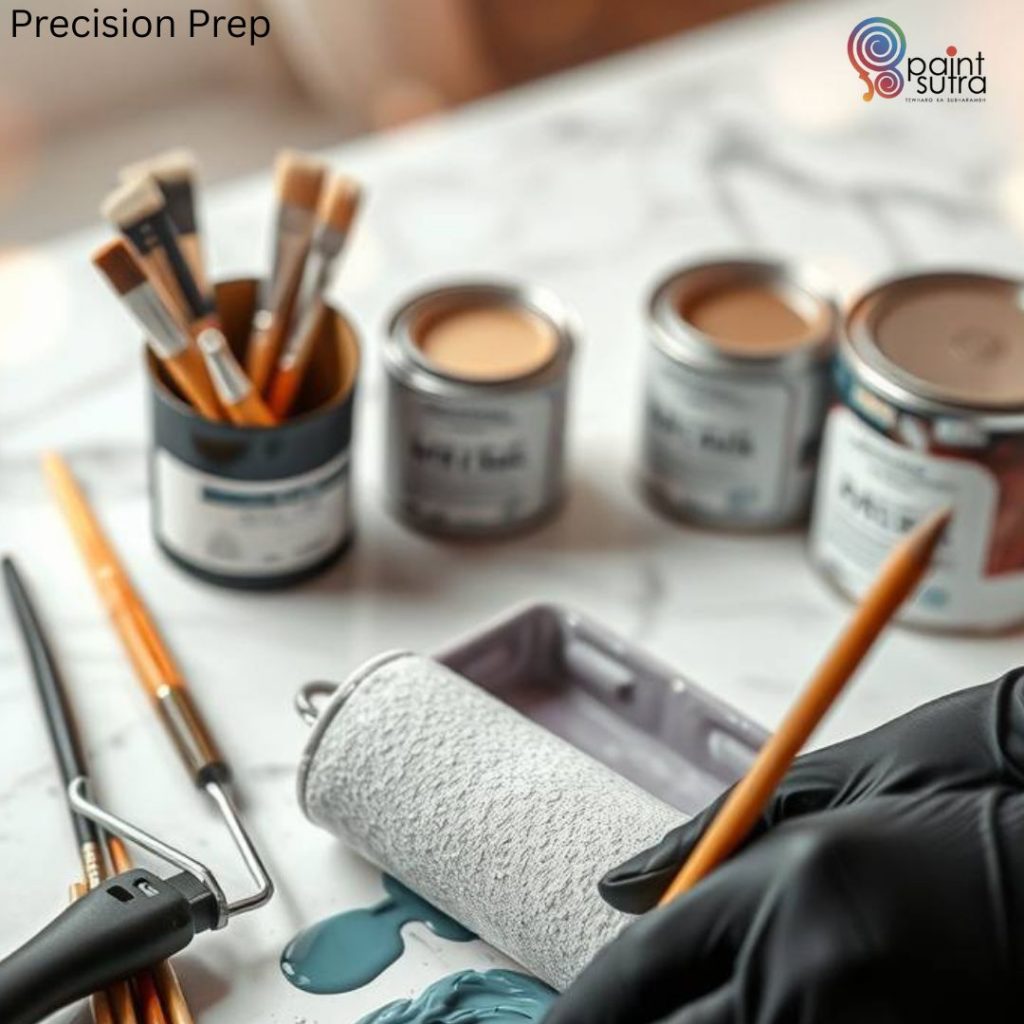
Step 3: Prep the Room & Walls
Proper preparation ensures a smooth finish:
- Clear the space – Move furniture or cover it with plastic sheets.
- Clean the walls – Remove dust, grease, or cobwebs with a damp cloth.
- Repair imperfections – Fill holes with spackle, sand smooth, and wipe away dust.
- Tape edges – Apply painter’s tape to trim, ceilings, and outlets for crisp lines.
Step 4: Prime the Walls (If Needed)
Primer helps paint adhere better, especially on:
- New drywall
- Dark-colored walls being painted lighter
- Stained or uneven surfaces
Skip this step if using a paint + primer combo.

Step 5: Start Painting!
Follow these techniques for a flawless finish:
- Cut in first – Use an angled brush to paint edges and corners.
- Roll in sections – Work in 3×3 ft areas with a “W” motion for even coverage.
- Maintain a wet edge – Avoid lap marks by blending freshly painted areas quickly.
- Apply a second coat – Wait 2-4 hours between coats for best results.
Step 6: Add Creative Touches (Optional)
Elevate your walls with:
- Geometric patterns (using tape for sharp lines)
- Ombre or sponge effects (for texture)
- Stencils or murals (for artistic flair)
Step 7: Clean Up & Reveal Your Masterpiece Once dry:
✔ Remove painter’s tape at a 45-degree angle.
✔ Touch up any missed spots.
✔ Clean brushes and rollers for reuse.
Transform Your Home with Vastu-Approved Colors!
Want a home that’s not just beautiful but also brings peace, positivity, and prosperity? Follow these Vastu color tips for a harmonious space:
✔ Ceilings → Always white or light-colored to keep the energy light & expansive.
✔ Doors & Windows → Wooden shades or white attract positivity & good vibes.
✔ Children’s Room → Soft green or blue boosts creativity & calmness for better focus.
Choosing the right shades as per Vastu can enhance your home’s energy. Let Paint Sutra’s Colour Specialists guide you!
📞 Call Now: 9700226666 | 8336885588
🌐 Visit: www.paintsutra.com